I just finished a book called Fan Girl by Rainbow Rowell. It is about this girl named Cath, who coincidentally is a lot like me. She is entering her first year in college, along with her twin sister, Wren. Both girls are completely obsessed with a series of books that revolve around this fictional character, Simon Snow. {ie. Harry Potter in my case.} She is so enthralled with the books, that she writes fan-fiction to keep the characters alive in their magical world of Mage and has thousands of followers waiting with baited breath for the next chapter to be released . She is otherwise known as, a complete genius and obvious introvert. {See? Just like me.} She stays up all night reading and writing in her baggy sweatpants and hair in a bun, while her twin, the more confident one, goes out to frat parties and lives the typical college life.
After I finished the book, it got me thinking. Could I write Harry Potter fan-fiction? I know it exists. I know of several forums that authors use just for the sake of Potter fan-fiction. And I have read the books so many times, that I feel like I was a part of their life, just as much as they were a part of mine. And for that matter, could I create a world like J.K. Rowling did? On paper napkins? Or even Post-its? My mom definitely thinks I can.
Maybe.
For now, I am satisfied with writing about my Potter themed birthday.
I just so happened to design and construct my own cake this year. My usual request is a double stuff, extra-large cookie cake from the American Cookie Co. I know. I get it. I’ve heard it a million times. There are a ton of bakeries and patisseries around my area and I choose a lame, commercially manufactured cookie cake. But moooooomm, it tastes like my childhood. Anyway, with the Potterhead theme underway, I thought it only fitting that I make my own cake.
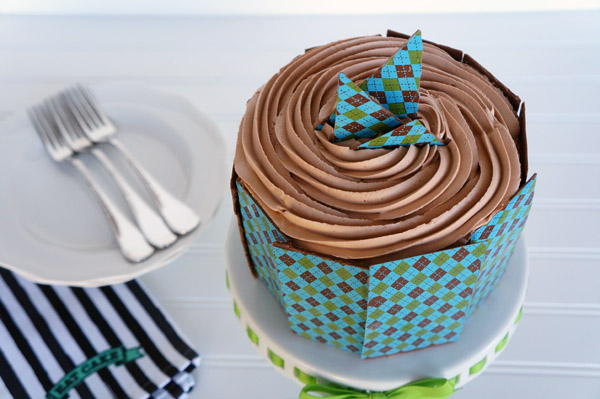
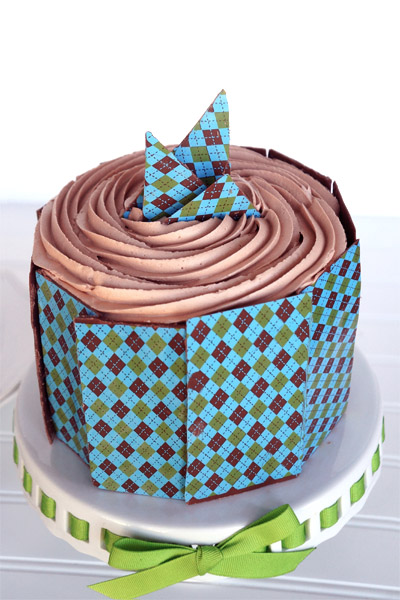
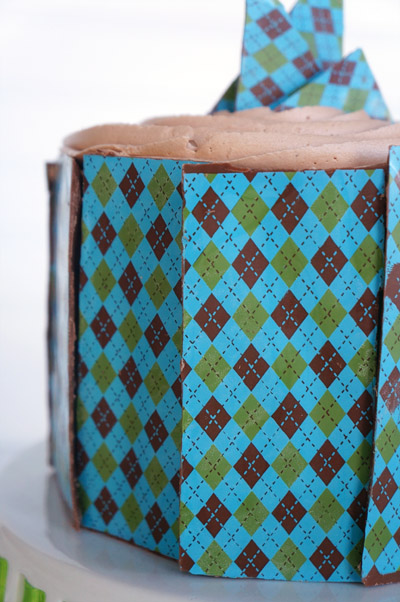
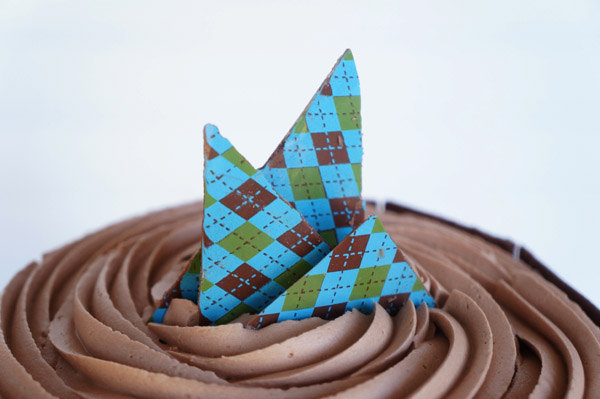
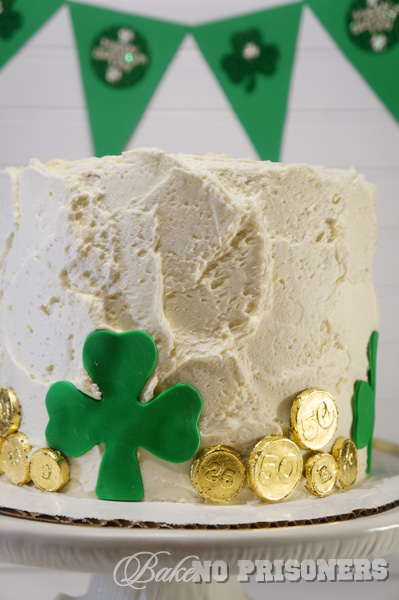
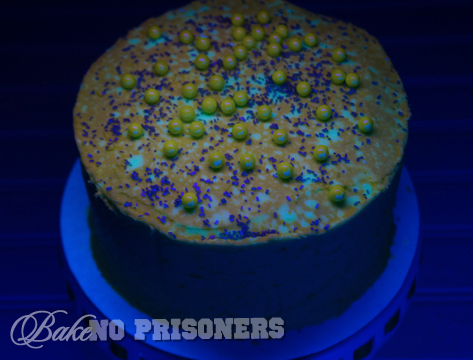
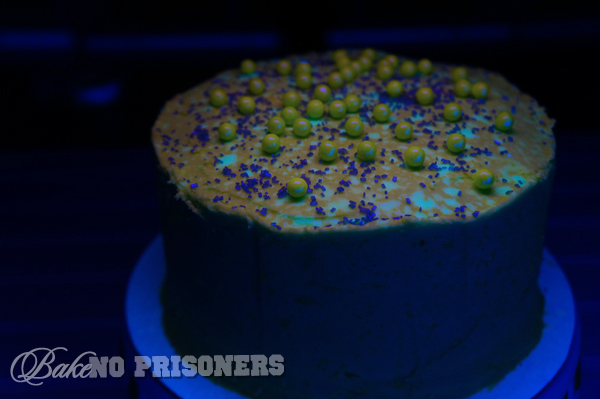
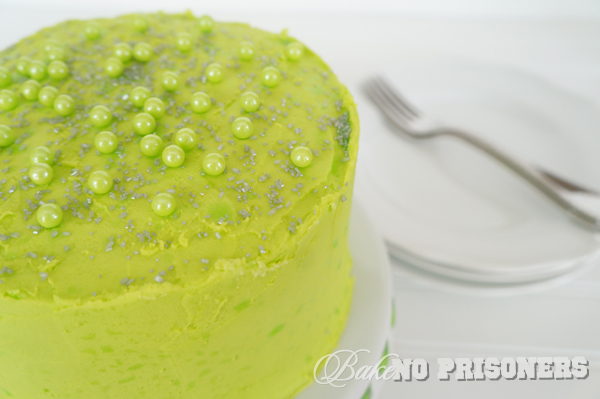
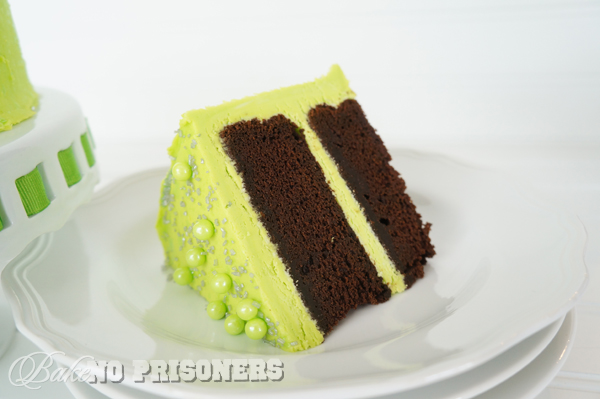
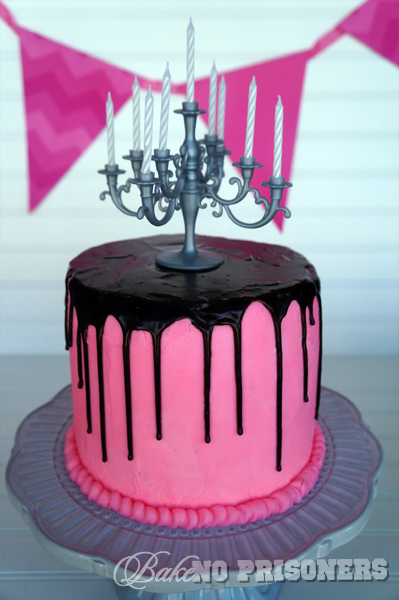
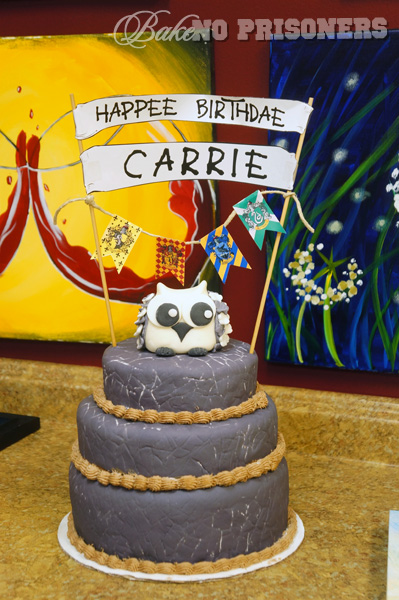
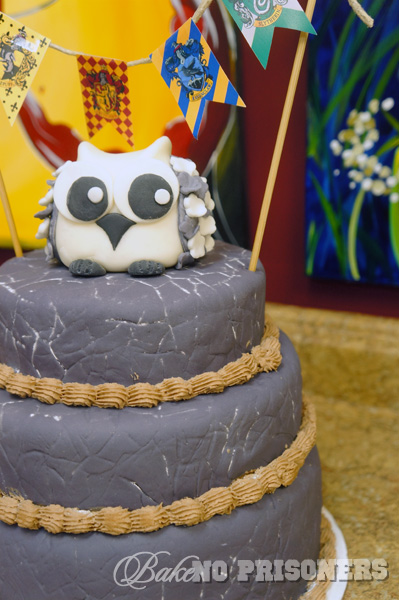 I’ll admit, I got a little carried away. The more I thought about it, the more extravagant things got. I wanted to do my first ever 3-layer cake. Then I wanted to construct my first ever fondant owl. Then the fondant had to have a cobblestone affect. Finally, I had to have a banner. Because duh. Who doesn’t love a banner on their cake? So I made my favorite vanilla spice cake with whipped Nutella frosting and then wrapped my layers in homemade marshmallow fondant. I dyed it grey and made a cobblestone imprint with a fondant stamp I had. Then I brushed the cobblestone with confectioner sugar so that they would stand out a bit. {However, I soon discovered that the sugar melts into the fondant a whole lot faster than I expected.} Finally, I piped the extra Nutella frosting I had around my layers. I constructed my fondant owl using a bunch of videos I found on YouTube, along with my collection of fondant tools and cut outs.
 ![]()
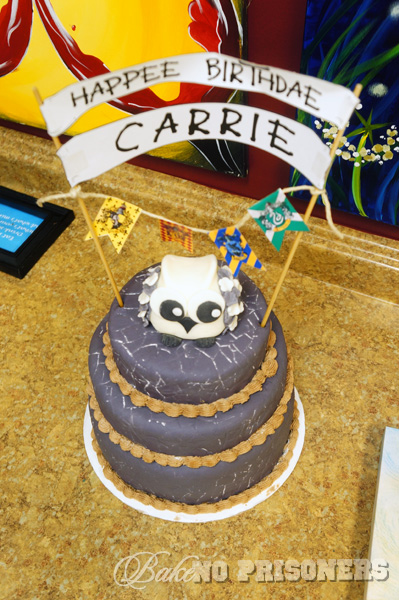
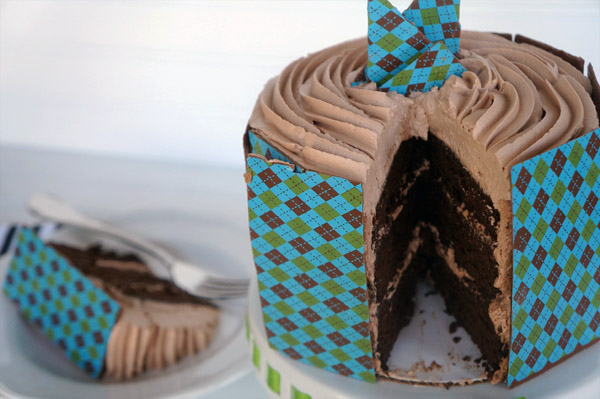
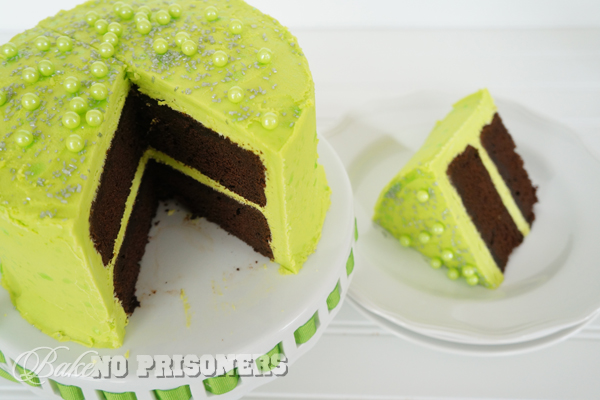
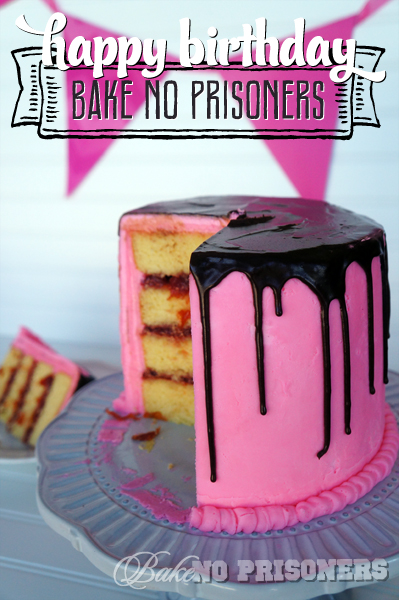
Each layer was a different house color for Gryffindor. The bottom layer was yellow and the top layers were red. Unfortunately, these were the only photos I had of the cake because we devoured it not long after they were taken.
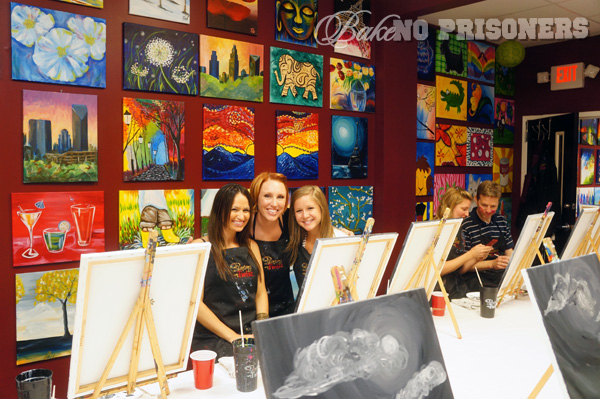
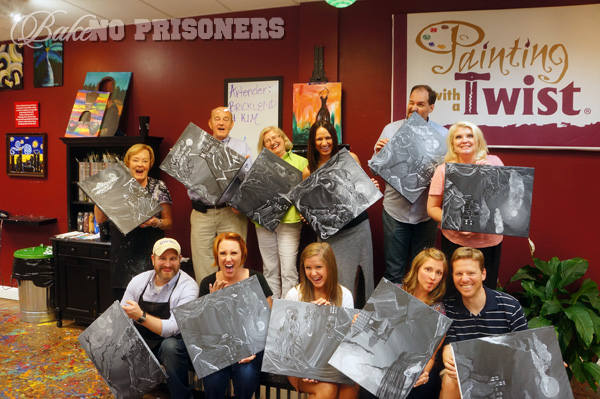
In addition to the cake, all of us went out to do a little Potter painting.
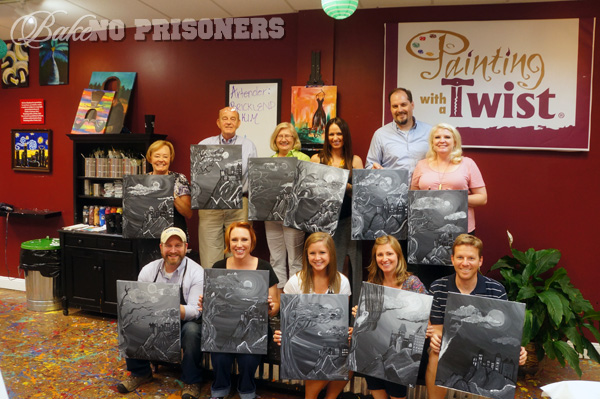
The amazing staff at Painting With a Twist happily created this one-of-a-king, never before introduced, Harry Potter inspired painting just for me. If you look carefully, you will notice Hogwarts at the top of the mountain, the Whomping Willow to the left, and a few of us even put in a Hedwig. Because Hedwig never really goes away, does he?
I call it…99 Problems but a Snitch Ain’t One.
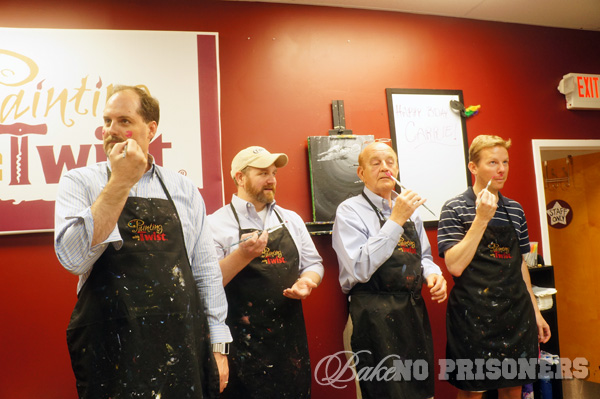 The boys got a little carried away with the paint…
No one told them it had to stay on the canvas.
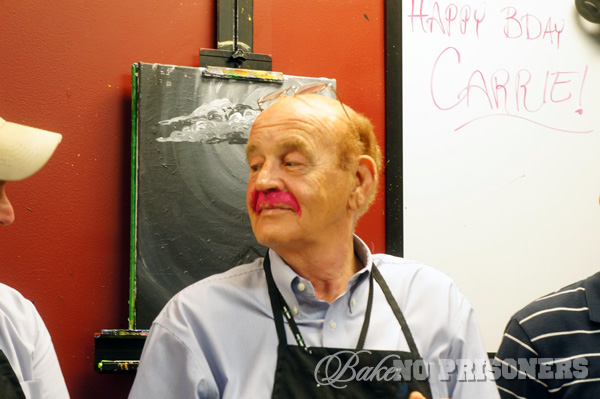 I think pink works for him…
 I adore my friends and family. They made my birthday oh, so, special…here are just a few.
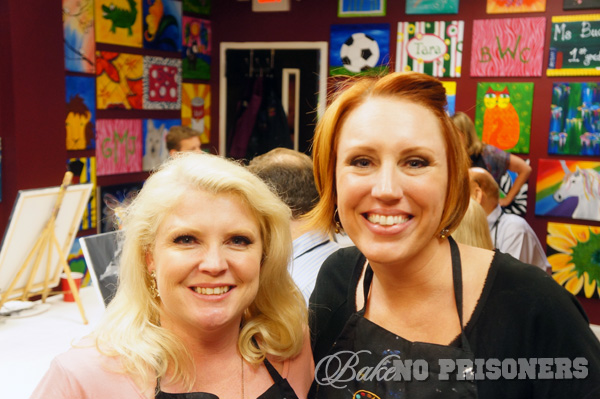 Fellow girly geek and con participant.
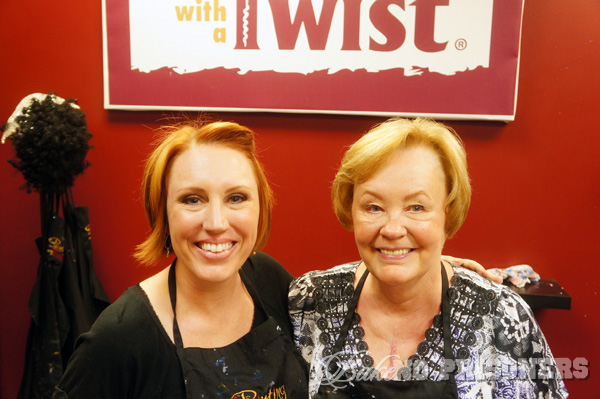 My pretty Momma…
 A big thank you to everyone who made it out. It was one of my best 29th birthdays so far!