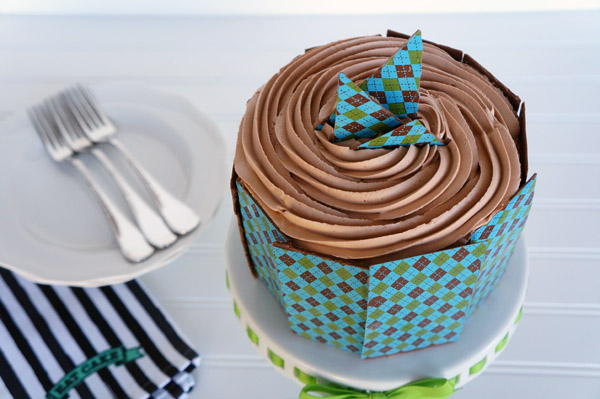
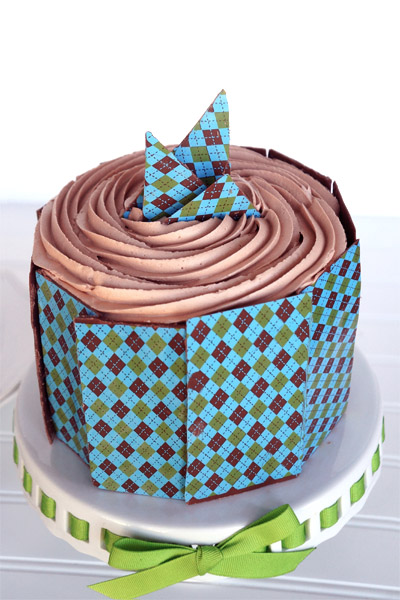
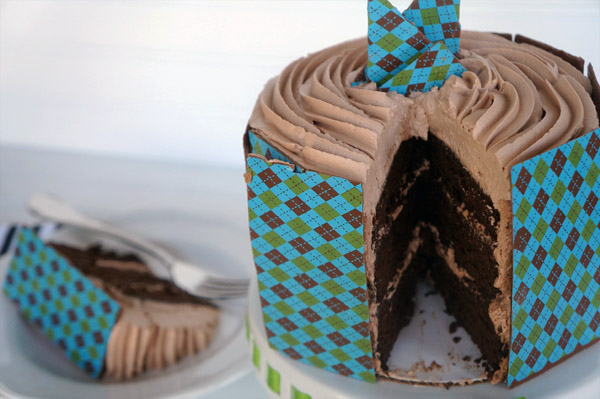
I recently started working with chocolate transfer sheets. They are totally easy and fun to work with and they have about a bazillion different designs and colors to choose from. The design I choose for this particular cake was a Springy blue and green gingham. Ya know. To make things fun and festive for the season. If you have never worked with them before, rest assured, you can do this. Chocolate transfer sheets are nothing more than strips of acetate that are embellished with cocoa butter. Sound complicated? Keep reading…
Begin by measuring the height of your cake. I started with a 6 inch round cake, about 4 inches tall. I had already lightly frosted my cake in butter cream, so it was all ready to go. Go ahead and pick up a bag of candy melts, any kind will do, but I like Wilton’s light cocoa, and follow the directions on the bag on how to properly melt them. Now you want your chocolate transfer sheets to be a bit taller than your cake, so when I got to measuring, I made sure to cut my transfer sheets in 4 1/2 inch tall strips. This gave me a little wiggle room when it came to putting it all together.
Place the raised side of your transfer sheets up on a prepared cookie sheet lined with parchment. You can use a small dot of melted chocolate as adhesive to “glue” the transfer sheet to the parchment paper. Don’t worry. It won’t hurt the transfer sheet and it will make the melted chocolate MUCH easier to work with. Gently spread your melted chocolate using an offset spatula to about a 1/8 thickness. Make sure to mark with a knife where your transfer sheet begins and ends.
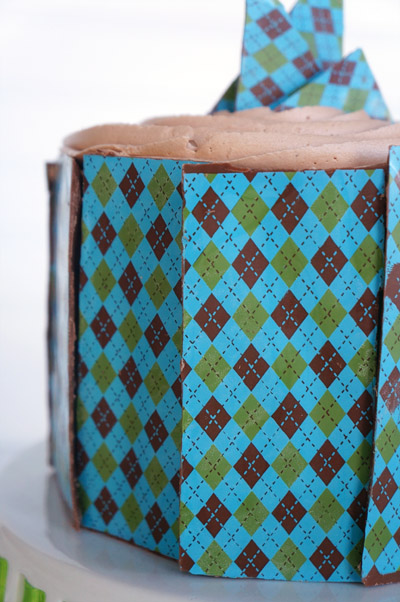
Let it sit for about 5 minutes and then score it to the desired width. In my case, I scored my chocolate about 2-inches wide. Allow it to sit for a half hour to 45 minutes or until set. Once they are firm, go ahead and peel away the transfer sheets and use the scores you made before to separate your pieces. You may have to do this a few times to have enough pieces to go around your cake.
Once I had enough pieces, I overlapped them just a little to add some dimension. If your butter cream is cold or you don’t seem to have enough, just add a little to your transfer sheet to help attach it to the cake. Just be careful because the chocolate can be fragile. You could also wrap a pretty little bow around it to keep it all together as well.
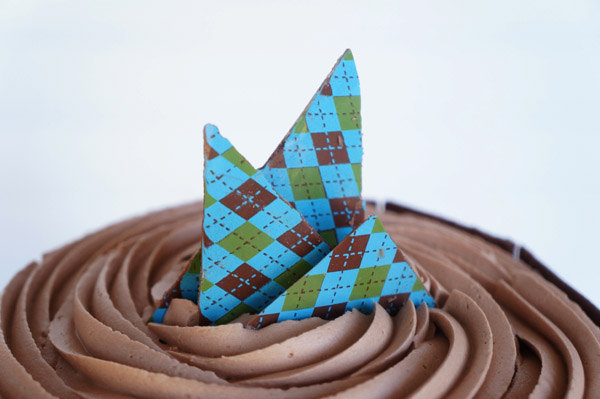
I had some leftover broken pieces, so I decided to create a little topper for my cake as well. All you have to do is carefully cut them into different shapes and place on top. Done and done.
I used my most favorite chocolate cake recipe for this cake and then created a very simple, fluffy Nutella frosting. The Nutella frosting compliments the rich, moist chocolate cake perfectly. I am totally smitten with this cake and could’ve eaten the entire thing by myself. Happy Spring, you guys!
Most favorite Chocolate Cake recipe
Nutella Frosting
3 1/2 cups confectioner sugar
2 sticks{1 cup} unsalted butter, softened
1/2 cup Nutella
5 teaspoons milk
Directions:
In your stand mixer bowl using your paddle attachment, cream butter and slowly add confectioner sugar one cup at a time. Add Nutella and mix well. Add milk, one teaspoon at a time, until desired consistency. Mix on medium-high for 2-3 minutes until light and fluffy.
