I like trains.
I am a huge fan.
I often daydream about boarding the Hogwarts Express with Harry, Ron and Hermione, or riding an old steam locomotive and spending the afternoon gazing upon the English countryside, like in some sorta Agatha Christie novel.
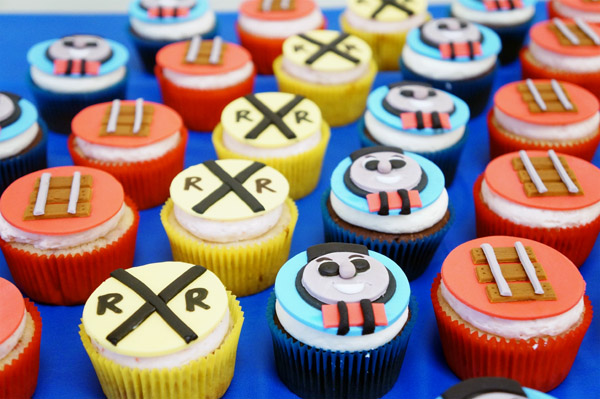
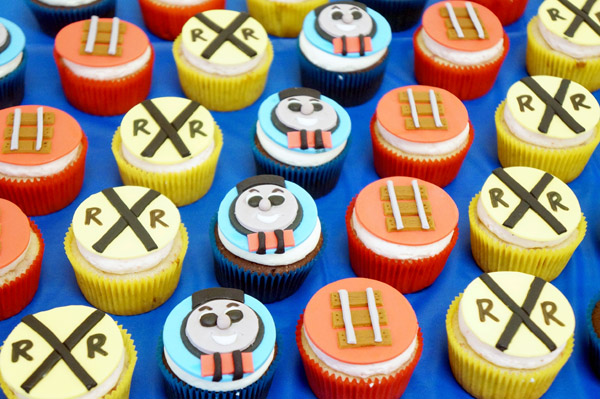
Well, this Saturday was E’s 3rd birthday and he wanted a Thomas the Train themed party. So his Mom and I put our heads together and we decided that I would make these adorably cute Thomas the Train cupcakes.
Since I don’t have small children of my own, I wasn’t sure where to begin, so I scoured the internet for all things Thomas the Train. After a little digging, I found all sorts of ideas to pull from. Not to mention I could tie in all the bits of information I knew about trains as well.
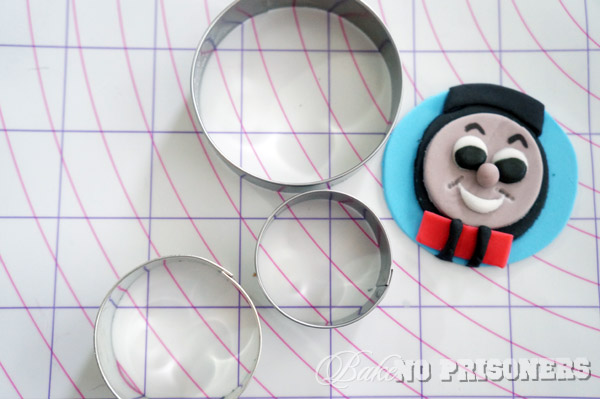
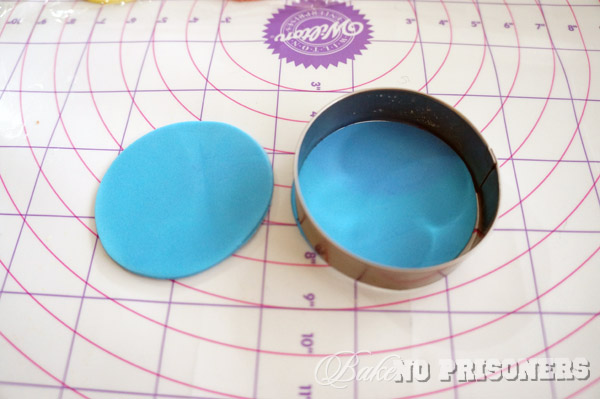
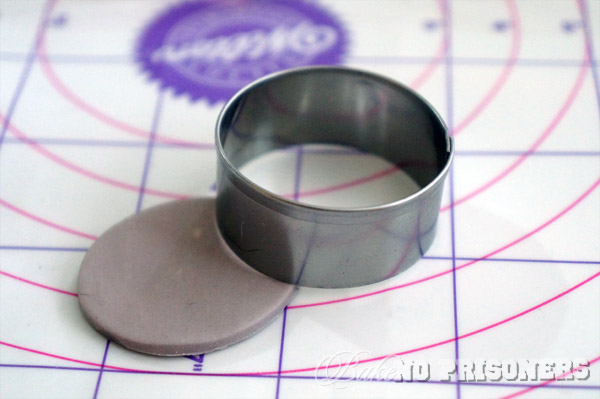
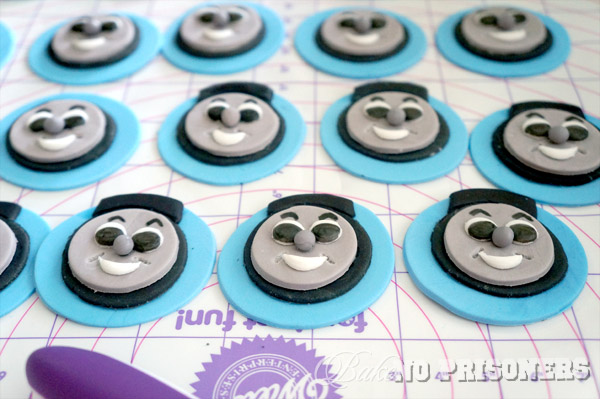
Thomas was easy enough to put together. I started with the large, medium, and small circle cutters you can find in the baking section at Micheal’s. I rolled out white fondant I had tinted blue, to an 1/8 of an inch and used my large circle cutter to cut out my base.
To make my black outline, I rolled out black fondant, again to 1/8 of an inch, and used my medium circle cutter. For the the grey Thomas face, I used a small bit of black candy clay(about the size of a dime) I had and mixed it in with a golf ball size of white gum paste. If you do not have candy clay, black fondant would work as well. Using my small cutter, I cut out his face.
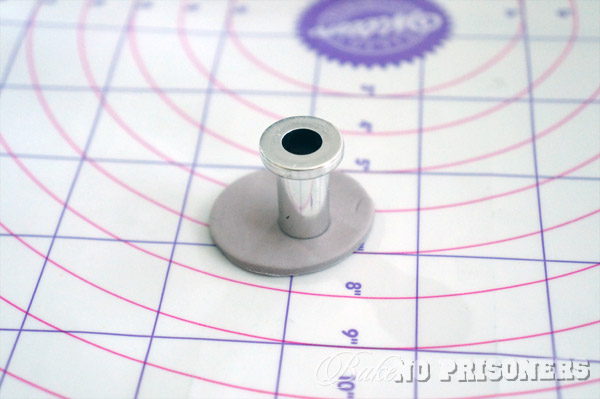
For his eyes, I used the mini circle cutter and then used this circle cutter for his nose. I found it among the mountainous pile of cookie cutters I currently own. It was the perfect size. After I cut it out, I rolled it between the palm of my hands to form it into a ball. Rolling out the dough and cutting it with the same cutter would ensure that every nose would be the same size.
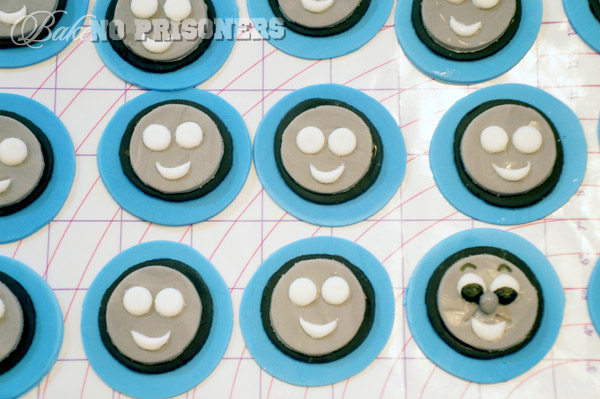
To make his smile, I rolled out my fondant and then used my mini circle cutter to cut out additional circles. Then I used the edge of the cutter to cut out a smile from each circle.
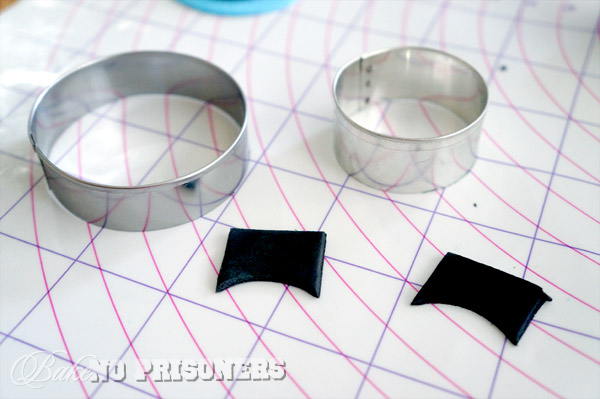
To add the smoke stack, I took my black fondant and cut out 1 inch squares. Using my medium circle cutter, I trimmed one side of the square, so that it would line up with my black outline.
After I had cut out all the pieces I needed for Thomas, I attached them using a gum paste-water adhesive. If you are not used to working with gum paste, then a little water will work just as well. If you would like a stronger bond, then simply drop tiny bits of gum paste into 2 inches of water and let sit for 10-15 minutes. The gum paste will melt and your water will become cloudy. Use a small brush to stir and apply your adhesive to your fondant pieces and let dry completely.
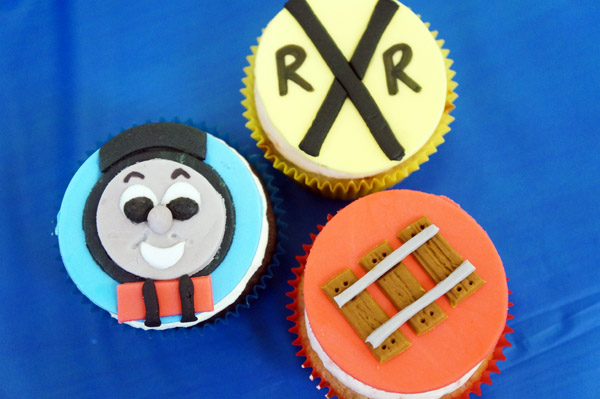
I did add a 1/2 in. by 1 in. red horizontal strip with two black vertical stripes along the bottom like Thomas has, but I forgot to take a picture. To add his black eyes and eyebrows, I used an edible black pen by Wilton. 
To mixed things up, I also made a Railroad Crossing sign and a set of railroad tracks. For the railroad tracks, I was able to use my new wood imprinting mat to give it a more realistic feel.
Happy 3rd Birthday E! I hope you had a wonderful day!
Love these! When my kids were little, they both adored Thomas the Train!
You did such an amazing job on these! They are perfect