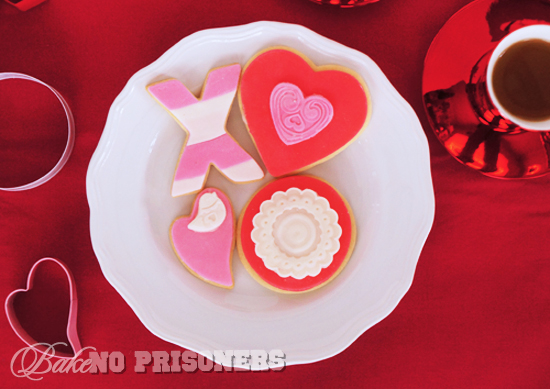
I have been on a bit of a cookie kick lately, but I just can’t seem to help myself.
It is like my New Years cookies sparked a whole new world filled with different flavors, icings, and add-ins.
And with Valentine’s Day just around the corner, I just couldn’t wait to come up with something new to show you guys how much you are loved.
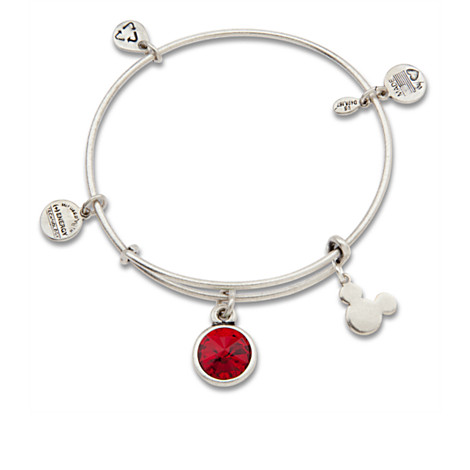
The Hubs and I don’t really partake in the whole Valentine’s Day celebration. We might give each other a card. Maybe go out to dinner. Say a million I-love-you’s throughout the day, but that’s pretty much normal, every day life for us. But this year, I plan on making him dinner{with meat..I am a vegetarian} and I have hinted around that I would love to be wearing this as a little token of his affection.
It is the Mickey Mouse Birthstone Bangle by Alex and Ani and I am quite enamored. I am so obsessed, that I actually want the red July birthstone instead of my pink June birthstone because it looks way more Disney to me. Don’tcha think? #totaldizgeek
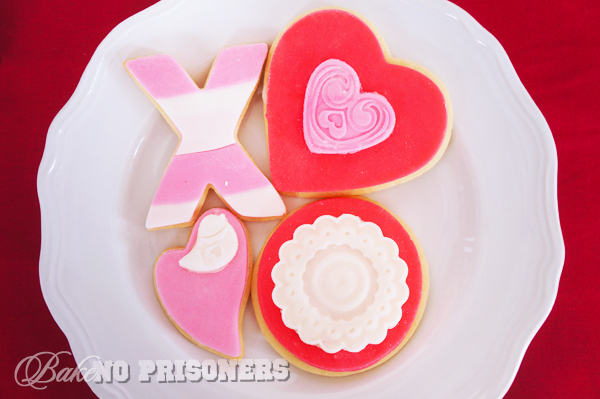
I think my favorite part about these cookies was how easy they were to put together. No, seriously. I plan on writing up a tutorial post on all the how-tos of these cookies, but for now, I will break it down to the bare essentials.
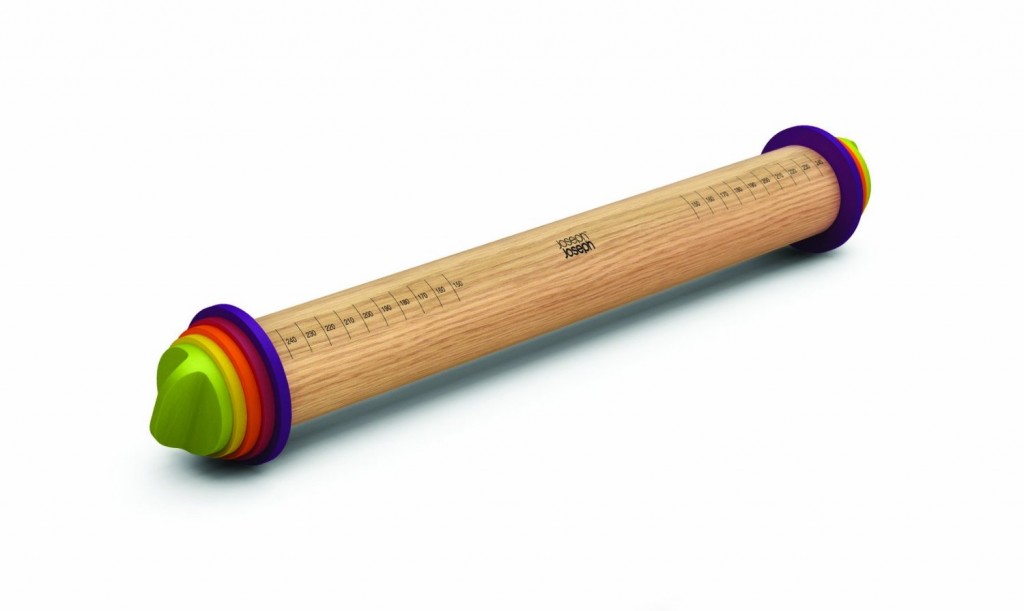
To begin with, I used my basic sugar cookie recipe to create my valentine cookies. The Hubs had bought me an adjustable rolling pin {see below}a few weeks back and it is truly one of my very favorite tools in my kitchen. Not only does it help in making sure my cookies are all the same width, but because of that, they bake more evenly. I like my cookies on the thin side, so I used the 1/16 disc to roll out my dough, but it also comes with 1/6, 1/4, and 3/8-inch removable discs as well.
Once baked and cooled, I came up with a faux royal icing to “glue” on my fondant. Just spread a small amount onto the cookies and then carefully lay your fondant on top. It takes only a few minutes to make, but is much easier to decorate with and tastes great. Simply mix all the ingredients together in your stand mixer bowl. Fast. Easy. And it doesn’t dry out like real royal icing.
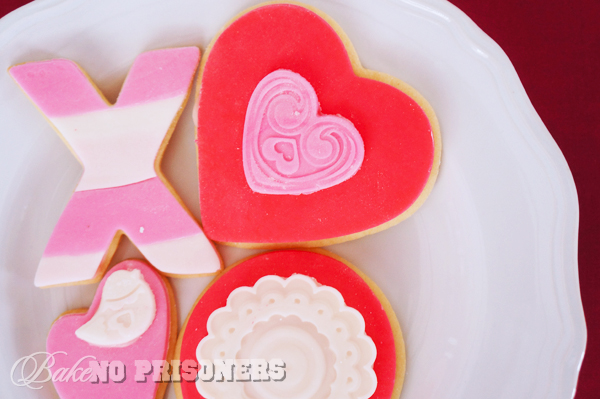
I had decided to use a homemade marshmallow fondant recipe I found, rather than spending up to $20 on store bought fondant. I don’t necessary like the taste of store bought fondant and in my opinion, it doesn’t last as long. Homemade fondant is fluffy, sweet, and stays soft on top of your cookies. Like a little marshamllow-y cloud of goodness.
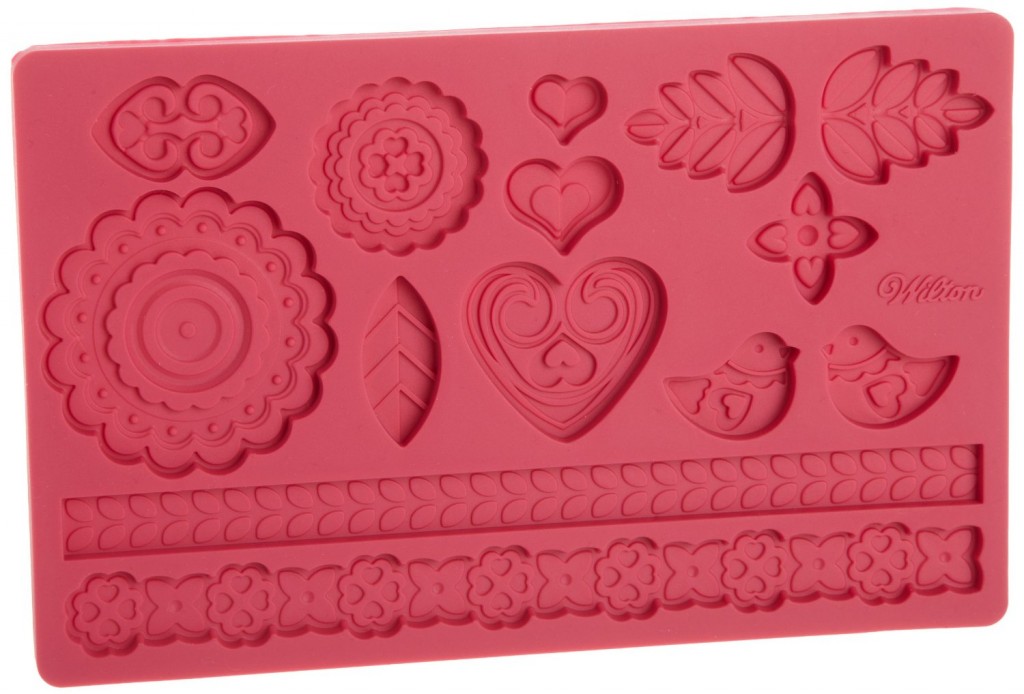
To create the fondant patterns, I used the following mold below. They are really easy to use. Just dust the mold with confectioners sugar and carefully roll a small amount of fondant onto the desired design until thin and then peel away the excess. I also used a small fondant tool to smooth out my edges as well.
I promise the hardest thing about these cookies was taking photos of them. We are in the midst of a “snow storm” here in the south and everything is so dark and dreary. Sounds like the perfect opportunity for a hot cuppa and a good book.
Recipes and Resources
Faux Royal Icing:
2 cups confectioners sugar
1/2 teaspoon vanilla
8 tablespoons heavy cream
*You can add more cream for a thinner icing or use less if you like a thicker icing.
