My Mom is a bonafide crafting genius.
When I was 3, she cut out tons of paper Mickey Mouses, just so that she could glue them altogether to make a 3D Mickey Mouse bow for my birthday. See, even then I was obsessed with the Disney.
When the Hubs and I got married, she painted over a hundred glass candle votives with intricate flowers and then attached a hand-cut paper heart that read our names and our wedding date.
And over the years, I have had the opportunity to con, snag, or plead for one of her beautiful handmade, hand-painted wreaths that encompassed a season or holiday. I mean, really, you outta see these things. There like magical.
This year, I thought I could channel my inner crafty and create my own Autumn wreath. I came up with three basic requirements for my wreath. One, I knew it had to be simple, because well, I like simple. Two, it had to have a little glitter. And three, it had to be inexpensive, because the Hubs said so.
So this is what I came up with…
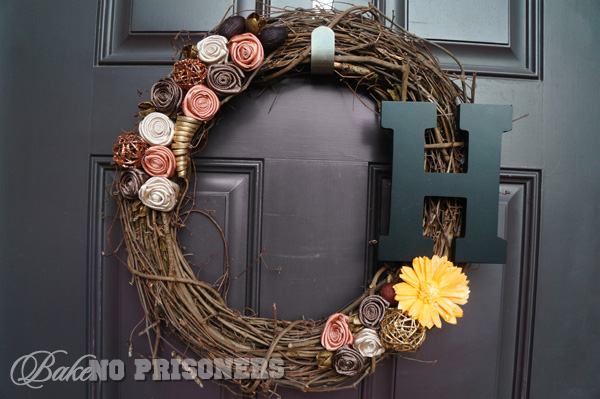
Simple. Glittery. Inexpensive.
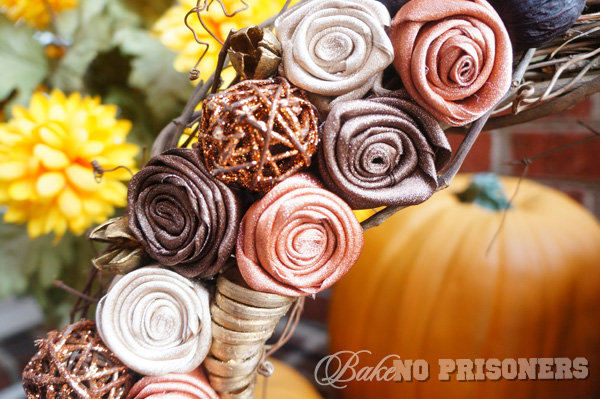 What made this wreath so inexpensive was that I made all of the flowers out of shimmery ribbon. I mean, the total cost was around $21 for the wreath, ribbon, black letter, and one large box of fall potpourri.
 So today, I am going to show you how to make easy ribbon flowers.
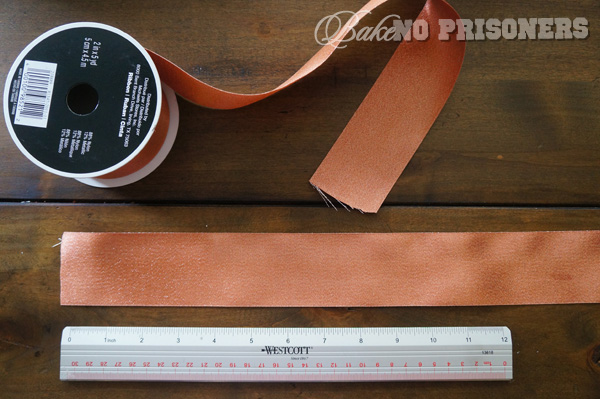 Start by cutting your ribbon anywhere between 12-18 inches in length. Just remember, the longer the ribbon, the bigger the flower.
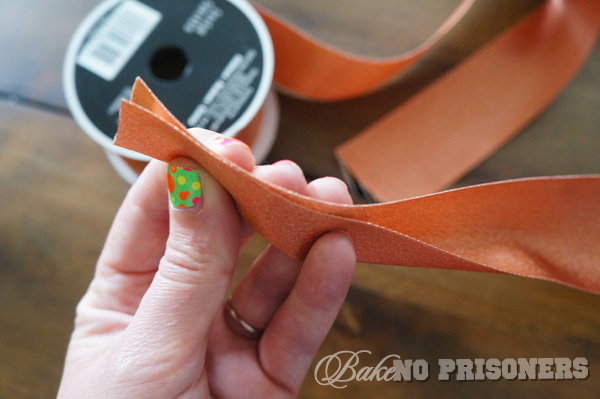 Fold your ribbon in half.
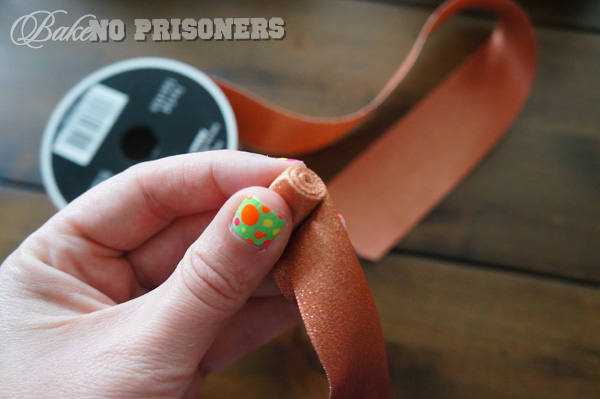
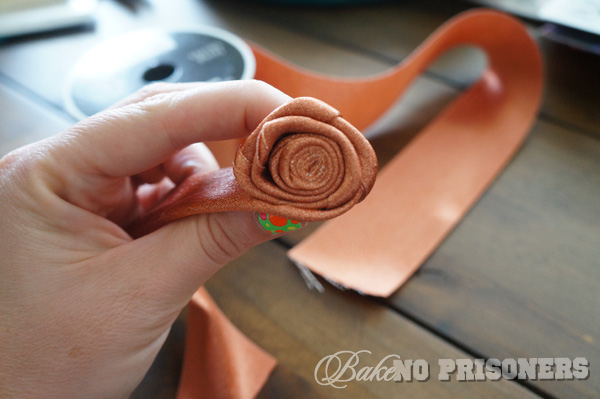
Then start rolling it into a little bud. This will be the center of your flower and it should be about the size of your thumb nail. Go ahead and secure it with a little dollop of hot glue.
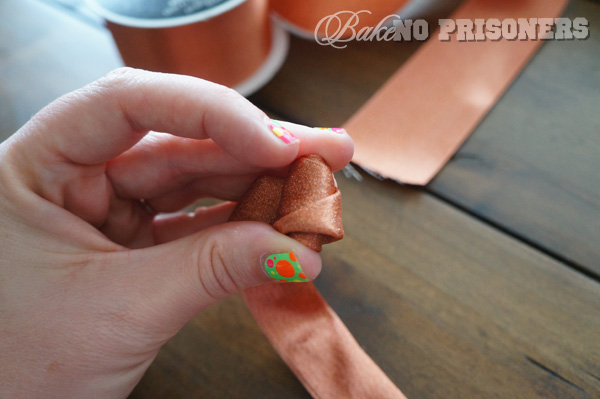
To get that rose look, you will want to start folding over the ribbon, securing it with hot glue every few folds. The hot glue will prevent it from unraveling or coming apart.
 After a few folds, you will begin to see the flower coming together.
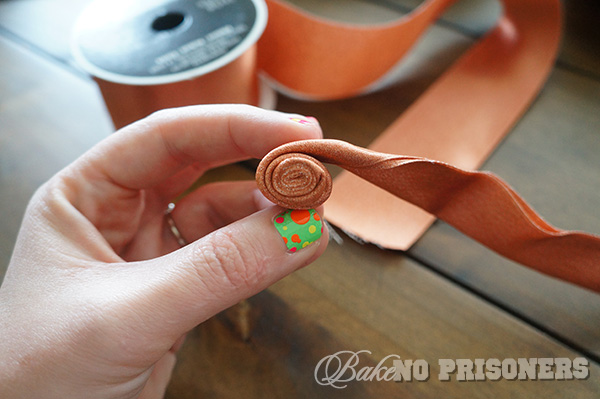
 Keep folding and hot gluing.
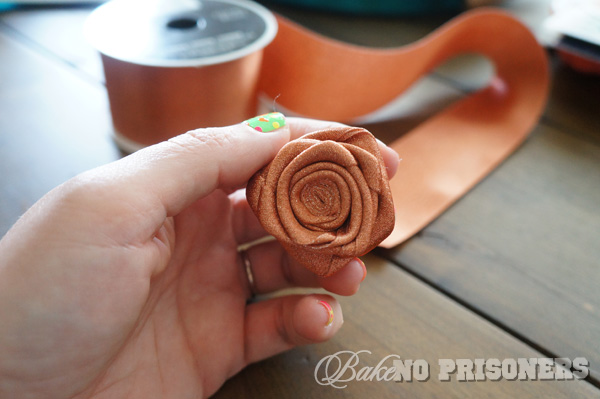 Glue the remaining part of the ribbon towards the back of the flower. When you glue it onto the wreath, no one will see it anyway.
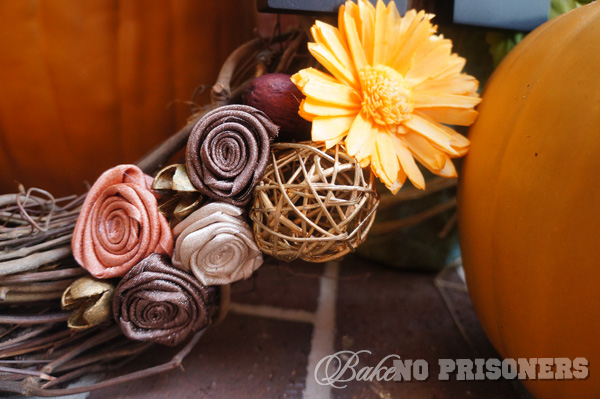
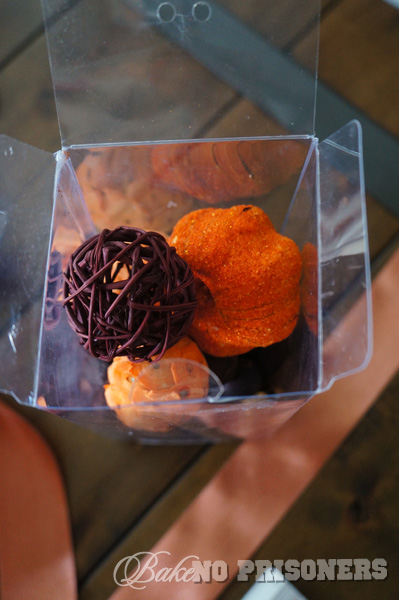 This large box of potpourri was around $4 and made perfect accents for my autumn wreath.
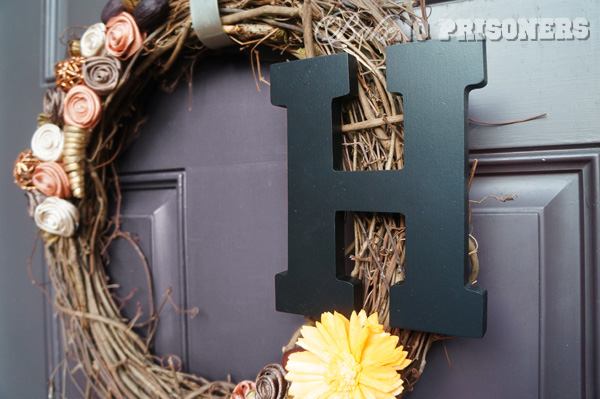 The black H came already painted and ready to go. The Hubster secured it on with wire and I reinforced it with hot glue.

Place your new ribbon flowers, fall potpourri accents, and letter where ever you’d like. You can’t go wrong. Most of all, have fun with it. I would love to see what you come up with! Send your photos to my Bake No Prisoners Facebook page and I will post them in the next few weeks.
That’s my girl! Totally awesome Sweetie!
It is lovely! Makes me ready for Fall!